 English
 中文简体
中文简体Content
- 1 What Is Brake Fluid, and Why Does It Matter So Much?
- 2 DOT Ratings – What Do They Actually Mean?
- 3 DOT 3 vs. DOT 4 – Which One Should You Use?
- 4 The Water Problem – Why Old Brake Fluid Is Dangerous
- 5 When to Change Brake Fluid – Time vs. Mileage
- 6 How to Change Brake Fluid – Step‑by‑Step (Without the Panic)
- 7 The One Mistake That Ruins Everything – Contamination
- 8 Brake Fluid Flush vs. Top‑Up – Don't Confuse the Two
- 9 Disposal – Don't Pour It Down the Drain
- 10 Final Checklist – Before You Start Your Brake Fluid Change
What Is Brake Fluid, and Why Does It Matter So Much?
Brake fluid is the unsung hero of your car's stopping power. It's a hydraulic fluid – it transfers the force from your foot on the pedal to the brake calipers or drums at each wheel. Without it, your brakes wouldn't work at all. But here's the catch: brake fluid isn't a "fill it and forget it" item. It absorbs moisture over time, which lowers its boiling point and corrodes internal components. That's why knowing the right type and change interval is just as important as checking your oil. This guide breaks down the confusing letters and numbers on the bottle, tells you how to change it like a pro, and warns you about the one mistake that can turn a routine job into a very expensive repair.
DOT Ratings – What Do They Actually Mean?
Every bottle of brake fluid has a DOT number – Department of Transportation. But the number isn't about quality or viscosity; it's about boiling point. Brake fluid has to withstand the heat generated by braking without turning into vapor (gas compresses, liquid doesn't). Here's the real‑world breakdown.
| DOT Rating | Dry Boiling Point (new) | Wet Boiling Point (after moisture) | Base Chemistry |
| DOT 3 | 205°C (401°F) | 140°C (284°F) | Polyethylene glycol ether (water‑absorbing) |
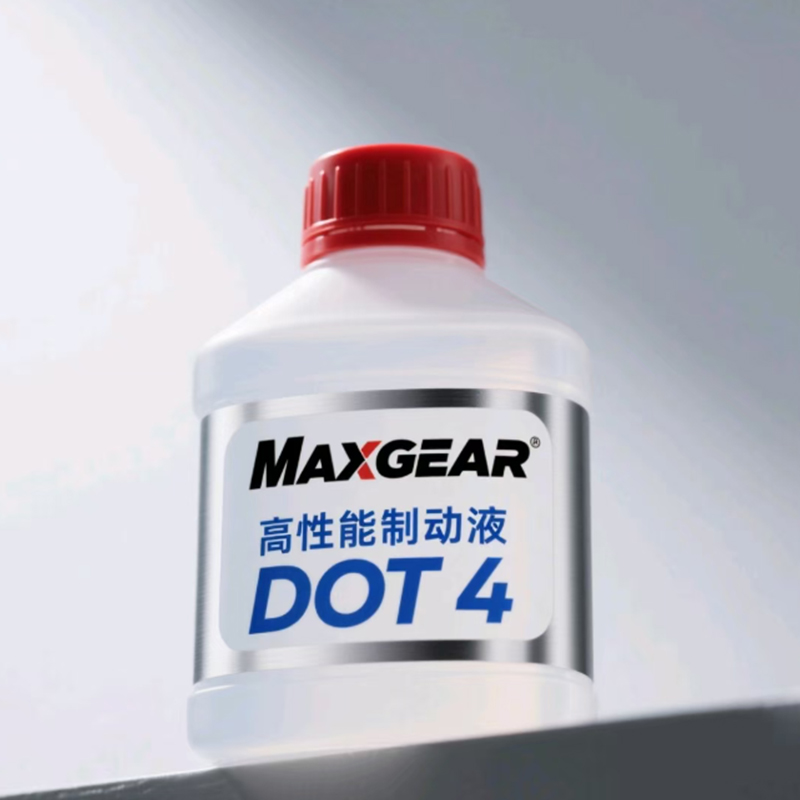
| DOT 4 | 230°C (446°F) | 155°C (311°F) | Glycol ether + borate ester (higher temp) |
| DOT 5 | 260°C (500°F) | 180°C (356°F) | Silicone (does NOT absorb water) |
| DOT 5.1 | 270°C (518°F) | 190°C (374°F) | Glycol ether (high‑temp, water‑absorbing) |
Key takeaway: DOT 3 is the baseline for older cars. DOT 4 is the most common all‑rounder – it handles higher heat and is compatible with DOT 3 systems (they can be mixed safely, but you'll lower the boiling point of the DOT 4). DOT 5 is silicone‑based andnotcompatible with any glycol‑based fluid – mixing them destroys seals and ruins the system. DOT 5.1 is like DOT 4 on steroids – high boiling point, glycol‑based, and compatible with DOT 3/4 systems. Unless your car is a classic with original silicone fluid, you'll almost always use DOT 3, 4, or 5.1.
DOT 3 vs. DOT 4 – Which One Should You Use?
This is the most common debate. Most modern cars from the 1990s onward specify DOT 4. Why? Because DOT 4 has a higher boiling point, and with smaller, more powerful braking systems, heat is a bigger concern. But DOT 3 is still widely available and perfectly fine for many older or lighter vehicles. Here's a practical way to choose:
- Check your owner's manual – always the first and best answer.
- If you drive in mountains, tow a trailer, or do track days – upgrade to DOT 4 or 5.1 (or a high‑performance DOT 4).
- For daily commuting in a standard sedan – DOT 3 is adequate, but DOT 4 gives you more margin.
- Never use DOT 5 in a car that came with DOT 3/4 – it's a completely different chemistry and will cause your seals to swell and leak.
One more thing: "DOT 4 Plus" or "DOT 4 Super" are just marketing – they usually have a higher wet boiling point but still fall under the DOT 4 spec. They're fine to use. But always buy fluid from a sealed container – brake fluid absorbs moisture from the air even before you pour it in.
The Water Problem – Why Old Brake Fluid Is Dangerous
Glycol‑based brake fluids (DOT 3, 4, 5.1) are hygroscopic – they attract and absorb water from the atmosphere. Over time, the water content creeps up. At 2‑3% water, your wet boiling point is already significantly lower. At 5‑7% water, the fluid can boil at under 160°C, which is easily reached during hard braking or a long descent. When brake fluid boils, it turns into vapor bubbles. Vapor is compressible – so when you press the pedal, you're compressing gas instead of moving fluid, and your brake pedal goes straight to the floor. That's a terrifying feeling, and it's completely preventable.
But it's not just about boiling. Water in the fluid also causes corrosion. Brake calipers, wheel cylinders, ABS modules, and brake lines are all steel or aluminum. Water and dissolved salts create rust and pitting. Over the years, this degrades seals, clogs small passages, and leads to sticking calipers or seized pistons. Replacing a corroded brake line or an ABS pump costs hundreds – and it's all because the fluid wasn't changed on schedule.
When to Change Brake Fluid – Time vs. Mileage
Most manufacturers recommend changing brake fluid every 2‑3 years, regardless of mileage. Some also specify an interval like 30,000‑50,000 km. But time is the bigger factor because moisture absorption happens even when the car is parked. Here's a realistic schedule:
- Every 2 years – for daily drivers in humid climates or coastal areas.
- Every 3 years – for normal use in a dry, inland climate.
- Every 1 year – for track cars, heavy towing, or mountain driving.
- If you don't know when it was last changed – change it now.
You can also buy a brake fluid tester that measures water content. Cheap testers (under $15) use electrical conductivity and are reasonably accurate – green means good, yellow means caution, red means change. But the test strips that change color are more reliable. Either way, if the tester says the fluid is >3% water, flush it.
How to Change Brake Fluid – Step‑by‑Step (Without the Panic)
Changing brake fluid is a diy‑friendly job if you take it slow and follow a bleed order. Here's the process for a conventional (non‑ABS) system – for ABS, you may need a diagnostic tool to cycle the pump, but the flushing procedure is essentially the same.
What you'll need
- Fresh brake fluid of the correct DOT rating (1 litre is enough for most cars)
- Clear vinyl tubing (about 60‑80 cm, snug fit over the bleeder nipple)
- A small container (glass jar) and a wrench (usually 8‑10 mm) for the bleed nipple
- A second person to pump the pedal (or a one‑person bleeder kit with a check valve)
- Brake cleaner and rags – brake fluid eats paint, so be careful
The bleed order (most common)
- Start at the wheel farthest from the master cylinder (usually rear passenger side).
- Then rear driver side.
- Then front passenger.
- Finally front driver side.
Check your manual – some cars have a specific bleed sequence for ABS systems.
The process
- Jack up the car and support it securely. Remove the wheel (or access the bleeder through the wheel well).
- Clean the area around the bleeder nipple with brake cleaner – you don't want dirt entering the system.
- Attach the clear tube to the nipple, and put the other end into a jar with about 2‑3 cm of old brake fluid (this acts as a seal – air won't be drawn back up).
- Have your helper pump the brake pedal 3‑4 times and hold pressure. Crack the bleeder open about 1/2 turn – fluid and air bubbles will flow into the tube. Close the bleeder before the helper releases the pedal. Repeat until the fluid runs clean and bubble‑free.
- Top up the master cylinder reservoir after every 4‑5 bleeds – never let it run dry, or you'll suck air into the ABS pump (major headache).
- Work your way through the bleed order, using about 250‑300 ml of fluid per corner (total 1 litre is plenty).
- When finished, top the master cylinder to the "MAX" line and test the pedal before driving – it should feel firm and consistent.
If you're alone, buy a one‑person bleeder kit with a check valve (around $20) – it works the same way, but you pump the pedal yourself and the check valve prevents air from re‑entering. Or use a pressure bleeder that connects to the master cylinder – it's faster but requires an adapter for your car.
The One Mistake That Ruins Everything – Contamination
Here's the single biggest error people make: using fluid from an opened container that's been sitting on the shelf for months. Once the seal is broken, brake fluid is constantly absorbing moisture. Even the condensation in the air above the fluid in a half‑empty bottle is enough to degrade it. Always buy fresh fluid in a sealed container and use it within a couple of months of opening – or, better, buy a small bottle (500 ml) per fluid change and discard the rest.
The other contamination risk is mineral oil. If you accidentally put power steering fluid, engine oil, or any petroleum‑based fluid into the brake reservoir, the seals will swell and disintegrate – often within minutes. That means a full master cylinder rebuild, new caliper seals, and flushing the entire system with alcohol. If you ever suspect contamination, don't even pump the brake pedal – tow the car to a workshop and have them flush the system immediately. It's a nasty, expensive mistake, and it happens more often than you'd think.
Brake Fluid Flush vs. Top‑Up – Don't Confuse the Two
A top‑up is adding a few millilitres because the reservoir is between the "MIN" and "MAX" lines. A flush is completely replacing the fluid in the entire system. A lot of people think a top‑up counts as maintenance – it doesn't. Topping up adds fresh fluid, but the old, water‑laden fluid in the calipers stays right where it is. The only way to reduce overall water content and restore the boiling point is to push fresh fluid all the way through to the bleeders. That's a flush.
A good visual check: fresh brake fluid is clear to light amber. Old fluid is dark brown, almost tea‑colored. If your fluid looks dark, no amount of topping up will fix it – flush it out.
Disposal – Don't Pour It Down the Drain
Brake fluid is toxic to aquatic life and contains glycol compounds that can contaminate groundwater. Never pour it down the sink, toilet, or storm drain. The proper way to dispose of old brake fluid is to collect it in a sealed container and take it to your local hazardous waste collection facility or auto parts store that accepts used fluids. Many chain auto stores will take it for free – just call ahead. It's a small effort that keeps nasty stuff out of the ecosystem.
Final Checklist – Before You Start Your Brake Fluid Change
Run through this quick list to make sure you're prepared and avoid common traps.
- Check your owner's manual – what DOT rating is specified?
- Buy fresh fluid in a sealed container – check the manufacturing date (within 1‑2 years).
- Know your bleed order – write it down before you lift the car.
- Have the right tools – correct wrench, clear tubing, catch container, and brake cleaner.
- Check that the bleeder nipples aren't seized – spray with penetrating oil a day before if they look rusty.
- Never run the master cylinder dry – check the level frequently during the flush.
- After flushing, pump the pedal 10‑15 times with the engine off – the pedal should feel firm and consistent before you start the engine.
- Test your brakes in a safe, low‑speed area before driving normally.
Brake fluid is cheap, and brake fluid maintenance is simple – but the consequences of neglect are serious. Stick to a 2‑3 year interval, use the right DOT fluid, and flush it properly. Your brakes will thank you with consistent pedal feel, shorter stopping distances, and a much lower chance of that heart‑stopping moment when the pedal suddenly turns to sponge.